How to disable the built-in display on a Mac
You’ve connected an external monitor and want your MacBook’s own screen gone: no desktop, no stray windows, no mouse pointer disappearing onto it. macOS has no switch for that in System Settings. Here’s what the common workarounds do, and what really works.
1 The usual workarounds
Brightness to zero
Makes the screen dark, but macOS still treats it as an active display. Windows, the Dock and the mouse pointer can still end up on it. How to dim it to black.
Mirroring
In System Settings › Displays you can mirror the external monitor to the built-in display. You lose the separate desktop, but the MacBook screen still shows everything and stays on.
Closing the lid (clamshell mode)
The only built-in way to really turn the display off. But you need power, an external keyboard and mouse, and you can’t use the MacBook’s keyboard, trackpad, camera or Touch ID. More about clamshell mode vs. lid open.
2 Really disable the built-in display with Blackout
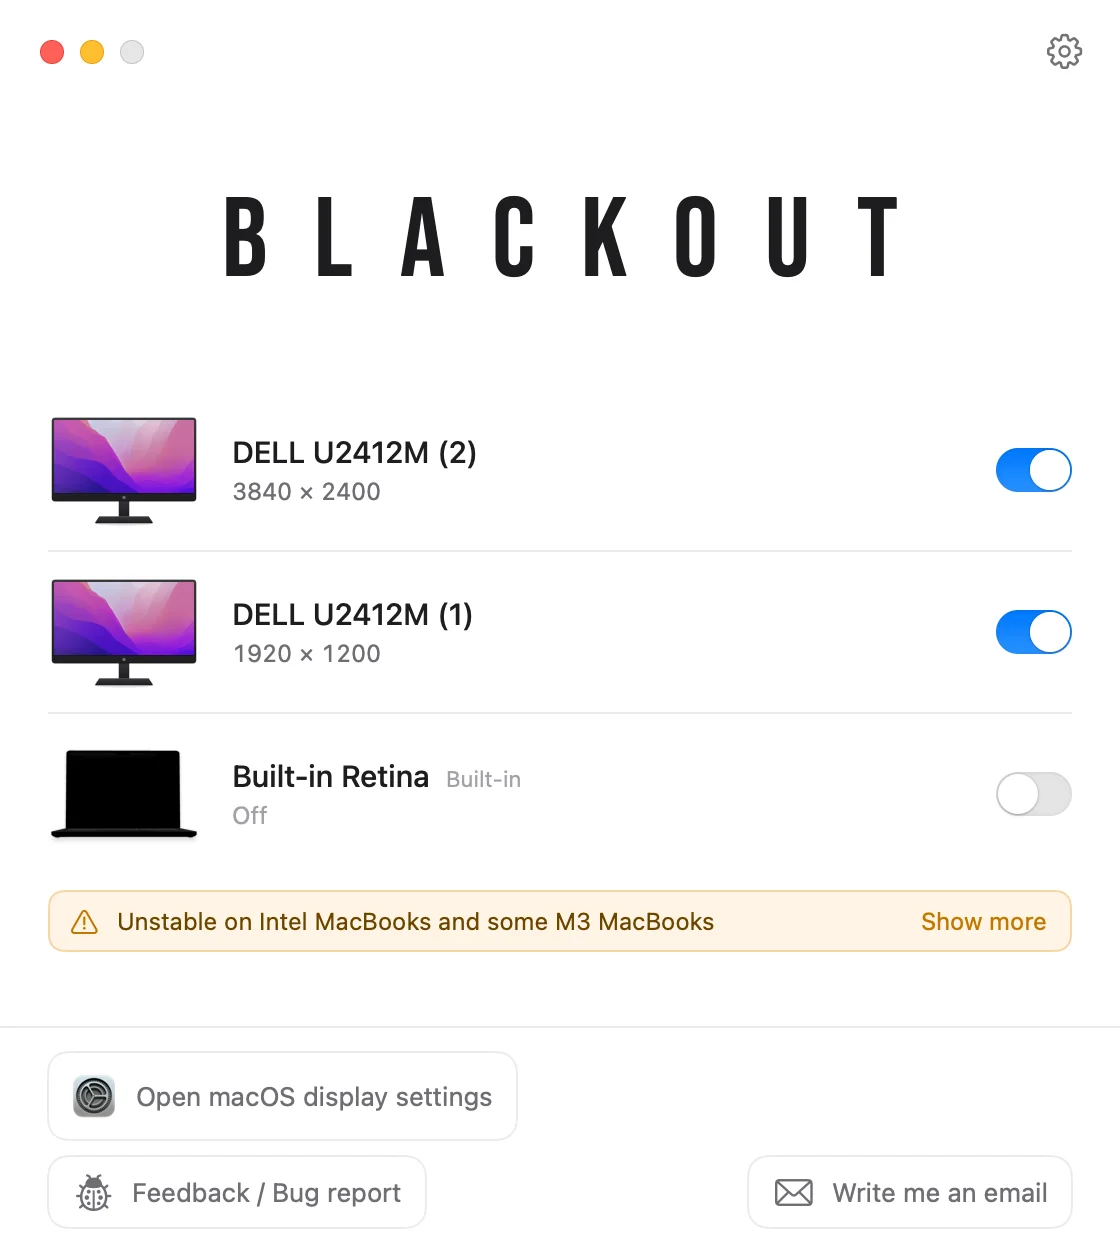
Blackout is a small menu bar app that switches the built-in display off with one click. macOS then treats it as disconnected: it disappears from System Settings › Displays, and your windows, Dock and mouse pointer stay on the external monitor.
- It only works while an external monitor is connected, so you can never end up without a screen.
- Nothing is changed permanently. Unplug the monitor, quit the app or restart the Mac, and the built-in display comes back on.
- Keyboard, trackpad, camera, microphone and Touch ID keep working with the lid open.
- Works on macOS 15 Sequoia and later, on Apple Silicon and Intel Macs. See the compatibility table.
Blackout is free to use for 7 days. If it works well for you, you can unlock unlimited use for a small price.