How to use only the external monitor with your MacBook
You connected a big monitor and want to work on that screen only. But macOS keeps the MacBook screen in play: windows open there, the pointer disappears onto it, and the Dock jumps over. Here are three ways to make the external monitor your only screen, from a quick setting to switching the built-in display off.
1 Make the external monitor the main display
The main display is the one with the menu bar, and it’s where new windows and the Dock open. Making the external monitor the main display already helps a lot:
- Open System Settings › Displays.
- Select your external monitor and set “Use as” to “Main display”.
- Optionally click “Arrange…” and place the MacBook screen in a corner, so the pointer rarely crosses over by accident.
To move a window that’s still on the MacBook screen, hold the pointer over the green button in its top left corner and choose to move it to your external monitor.
The built-in display is still active though. macOS keeps using it as a second screen, and some apps keep opening there.
2 Close the lid (clamshell mode)
If you close the lid while the MacBook is connected to power, an external monitor and an external keyboard and mouse, macOS switches the built-in display off. This is Apple’s clamshell mode, and the external monitor really is your only screen.
You lose the built-in keyboard, trackpad, Touch ID, camera and microphones though, because they’re under the closed lid. Why clamshell mode needs a closed lid.
3 Keep the lid open and switch the built-in display off
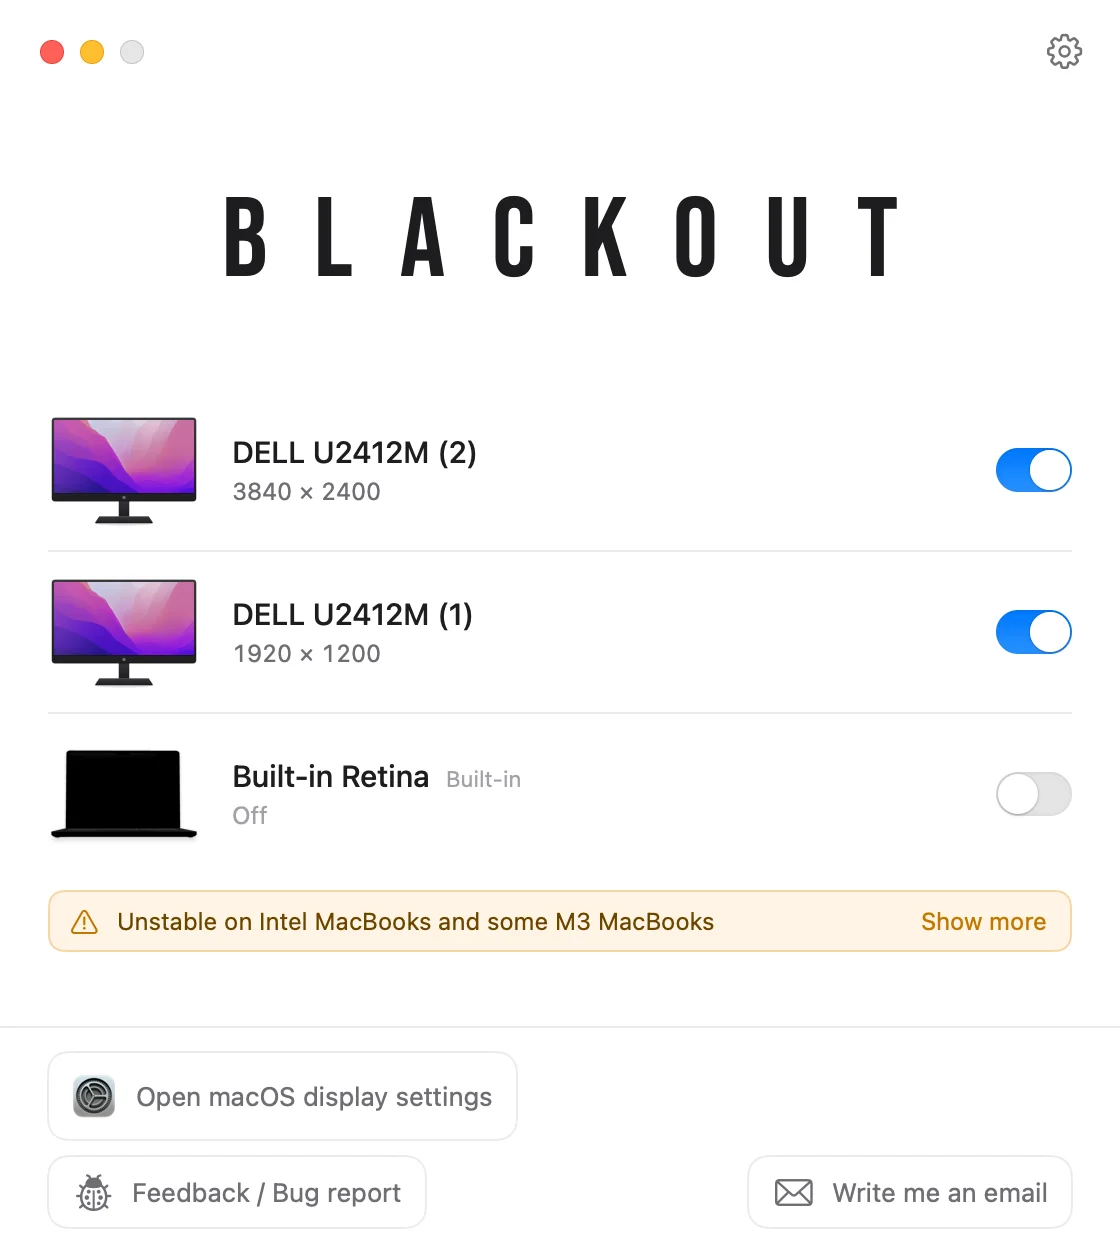
Blackout switches the MacBook screen off while the lid stays open. macOS then treats the external monitor as the only display, so windows, the menu bar, the Dock and the pointer all stay there, and you keep the MacBook’s keyboard, trackpad, camera and Touch ID.
- Switch each connected display on or off from the menu bar.
- Blackout only switches the built-in display off while an external monitor is connected, so you never end up without a screen.
- Unplug the monitor, quit the app or restart the Mac, and the MacBook screen turns back on automatically.
Blackout is free to use for 7 days. If it works well for you, you can unlock unlimited use for a small one-time price.
If it doesn’t work as expected
New windows still open on the MacBook screen
Check that the external monitor is set as “Main display” in System Settings › Displays. Some apps remember the screen they were last on, so move their windows over once and they’ll open there next time.
The external monitor isn’t detected
Try another cable or port, and make sure the monitor is set to the right input. In System Settings › Displays you can hold the Option key to show a “Detect Displays” button.
The MacBook screen is only dark, not off
Turning the brightness to zero only darkens the screen; macOS still uses it as a display. How to really disable the built-in display.